Sometimes when you encounter a problem when playing OMSI, you might go into the OMSI log file
(logfile.txt) to diagnose the problem. When looking through the log entries, you may have stumbled
upon this line and wondered what it is and how it works.
Information: Download Internet Textures...
As it turns out, OMSI is able to download textures from the Internet and save into the OMSI directory. It can
also automatically update and replace the textures when OMSI detects a change in textures from the Internet
source.
Internet textures is also a great way for content creators to introduce a way of advertising into scenery objects
like billboards in maps. The textures (or advertisements) can be updated on the web server, and whenever an OMSI
player relaunches the game, the updated texture will be downloaded to the player’s OMSI directory.
This tutorial will guide you through the steps to set up the required files for the use of Internet textures.
Step 1: Getting your textures ready
First thing to have is a piece of texture, of course! The supported texture formats of this feature are JPEG
(.jpg), Targa (.tga), and Bitmap (.bmp). Other formats like PNG
(.png) are not supported.
For this tutorial, a sample .bmp file will be used.
The sample.bmp file used.
Step 2: Uploading textures
The next step is to upload the textures somewhere for OMSI to download from.
If you have your own website, it is highly recommended to use your web server to host your textures. If you do
not have your own website, you may try using image hosting services for JPEG textures.
However, OMSI does not support HTTPS as it only queries HTTP port 80. Make sure that the host server uses normal
HTTP and not HTTPS. If you have your own website, you can set up a folder specifically with HTTPS off using a
.htaccess file.
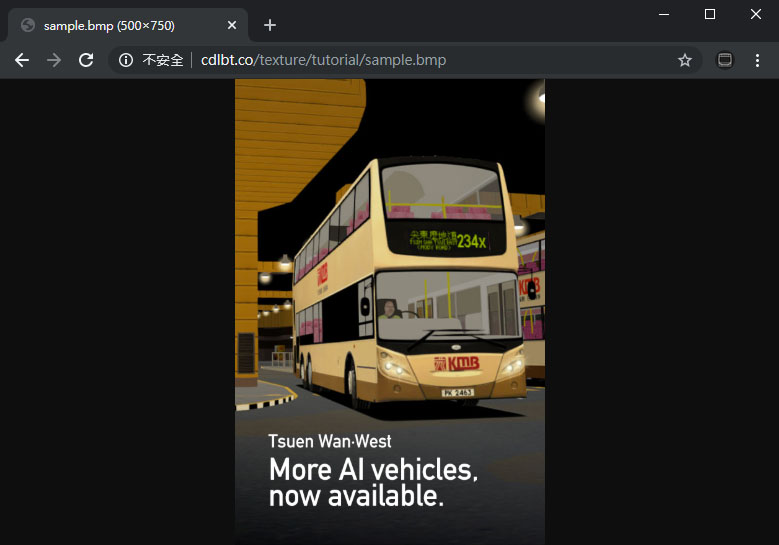
sample.bmp uploaded to an HTTP folder on our website.
Step 3: Set up the .itx file
Now that we have our textures on the Internet, we shall set up the script that picks the web URL of the textures
and the local file URL of where we want the textures to be saved.
To do this, we can open up notepad and create a new file. In the new file, we can start to add the texture
entries.
The syntax of the texture entries are as below.
{web URL} {local file URL}
For example, if I would like the texture from http://cdlbt.co/texture/tutorial/sample.bmp to be saved to my object’s texture
directory as Sceneryobjects\Tutorial\texture\sample.bmp, the entry will look like this:
If you want to have multiple textures to download, you will need to leave a blank line in between entries.
Now, save the file to the Textures folder of your OMSI directory as a .itx file. After saving, you
can launch OMSI.
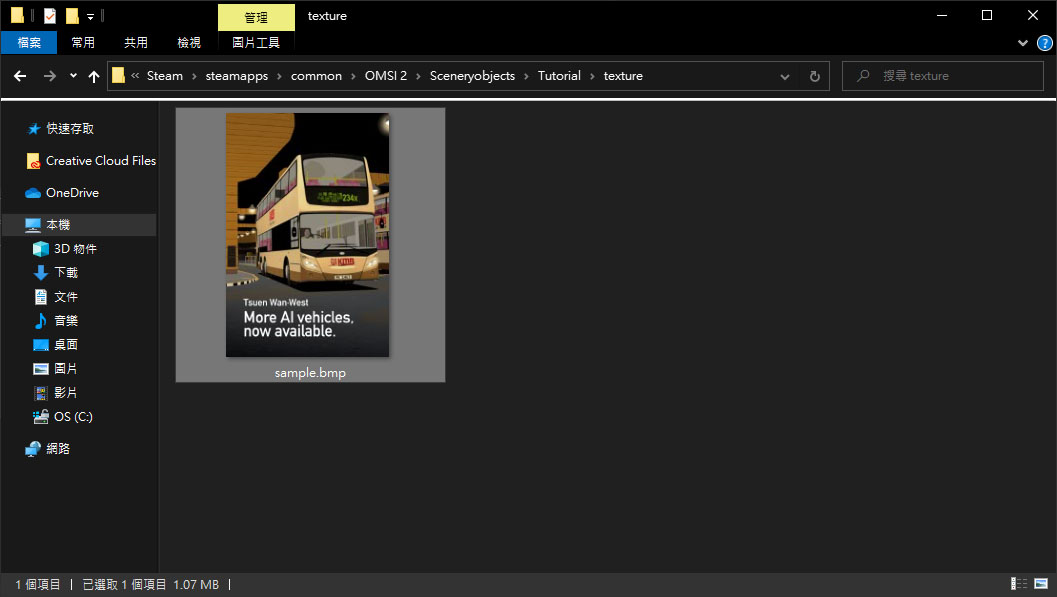
After the splash screen is up, we can go check if the texture has been downloaded. If we go to
\Sceneryobjects\Tutorial\texture\, where my script told OMSI to download the texture to, we can see
that sample.bmp is present, meaning that the download is successful.
The download is successful.
When we view the OMSI log file (logfile.txt), if you get a message similar to the one below, it
means that the download is successful.
Information: Downloaded file Sceneryobjects\Tutorial\texture\sample.bmp from
http://cdlbt.co/texture/tutorial/sample.bmp
If you get a message like this below, it means the download is unsuccessful.
Information: Problem while getting file http://cdlbt.co/texture/tutorial/sample2.bmp
If your download is unsuccessful, make sure that your server is using HTTP, and the URL of the resources are
correct.
We are done! We have learned how to configure Internet textures for your next project. Happy developing!
Additional Notes
OMSI only queries HTTP port 80 when downloading Internet textures. It is important to note that HTTP is not an
secure protocol, meaning that the download process of textures is completely unencrypted. By using HTTP only, the
process is vulnerable to spying from governments, Internet service providers, or other users on the same network.
It is also vulnerable to man-in-the-middle (MITM) attacks, meaning that it is possible for attackers to modify the
texture content to include malicious code that can cause problems with your computer.
To lower the risk of MITM attacks, it is recommended that everyone use a secure internet connection. Make sure
that the Wi-Fi network that you are on has at least WPA security. For higher security, consider using a Virtual
Private Network (VPN) service too. This can improve the general security of your internet connection, whether you
are downloading textures through OMSI or browsing the internet.
Thank you for reading the tutorial. I hope it helped you understand how to work with Internet textures. If you
have any comments or feedbacks, feel free to contact us at [email protected] or message us at our Facebook Page.